Difference between revisions of "Zoiper 5"
From VoiceMailTel Wiki
(Created page with " '''1. Download and install the soft phone''' Click [https://www.zoiper.com/en/voip-softphone/download/zoiper5/for/windows Download ZoiPer]. After downloading the softwa...") |
|||
| Line 7: | Line 7: | ||
After downloading the software, install it and configure it according to the steps below: | After downloading the software, install it and configure it according to the steps below: | ||
Click on the downloaded file to install it. | Click on the downloaded file to install it. | ||
| + | |||
| + | |||
[[File:Z1.png]] | [[File:Z1.png]] | ||
| Line 48: | Line 50: | ||
| − | Click "Next" on the next screen without changing any information | + | Click "Next" on the next screen without changing any information. |
Revision as of 20:21, 5 May 2020
1. Download and install the soft phone
Click Download ZoiPer.
After downloading the software, install it and configure it according to the steps below:
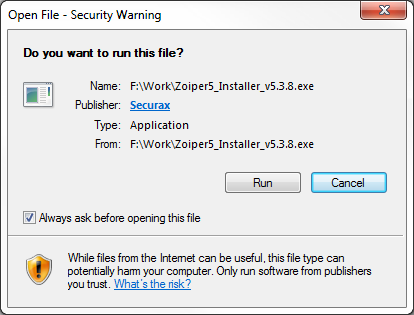
Click on the downloaded file to install it.
Click "Run" in the notification window.
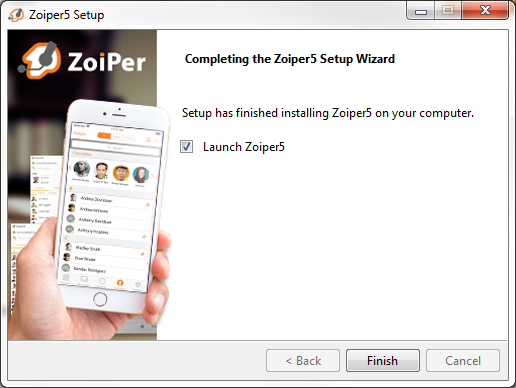
Click "Next" on all setup windows until the installation is completed.
2. Setup your Zoiper softphone
Click "Continue as free user" on the first setup screen.
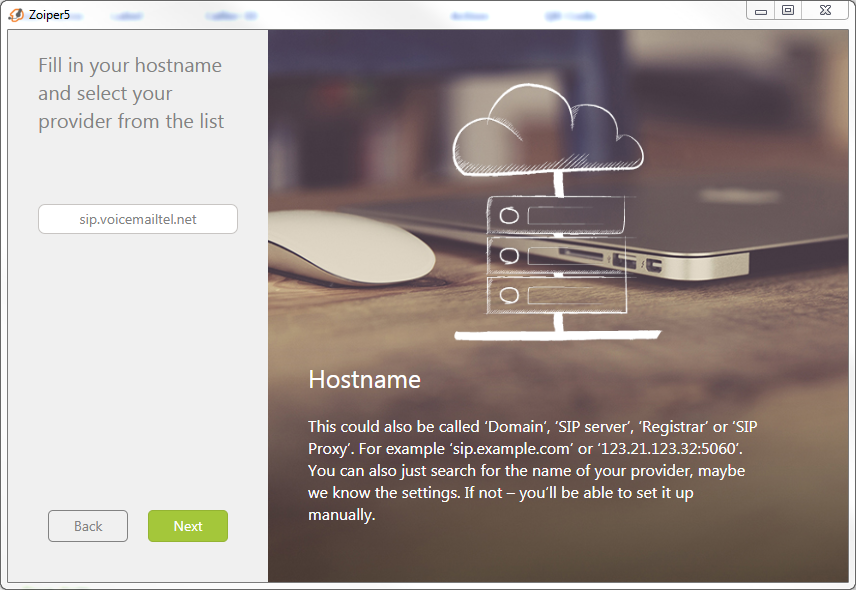
Enter your SIP user name in the following format: vmtXXXX_X@sip.vpocemailtel.net. Enter your SIP terminal password.
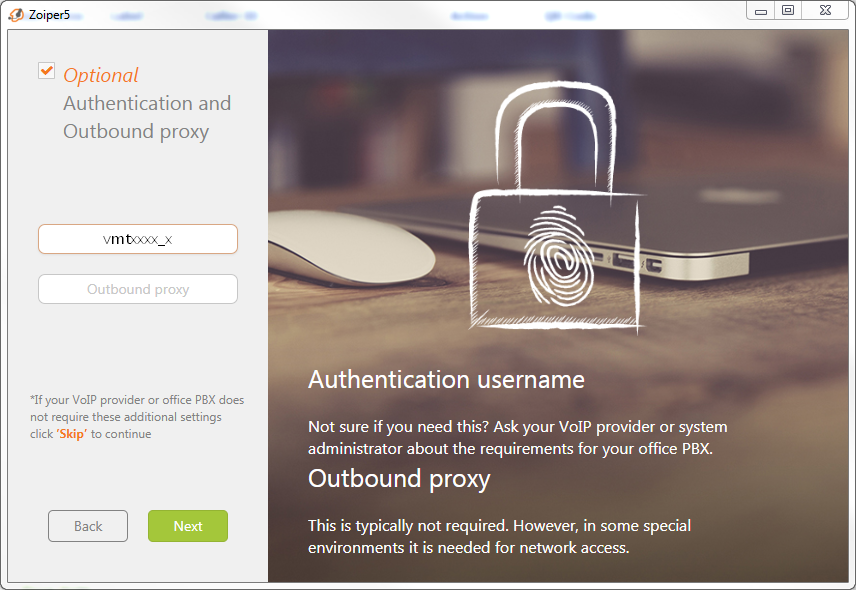
Click "Next" on the next screen without changing any information.
Confirm your SIP user name on the next screen and click "Next".
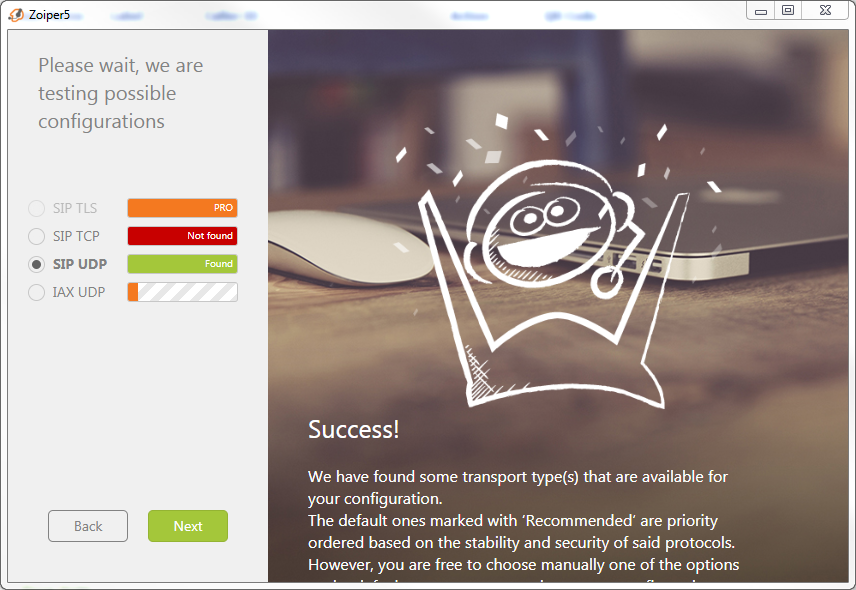
Look for the SIP UDP option to turn green and click "Next".
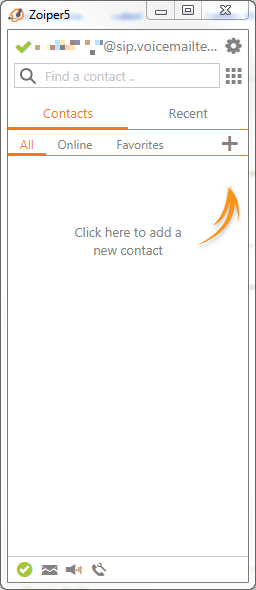
Look for a green check mark sign in the upper left corner of your soft phone, which will confirm your setup was completed successfully.
Make calls!
