Difference between revisions of "Aastra 6867i"
From VoiceMailTel Wiki
(Created page with '== How to configure your phone through Zero touch deployment == ''' Zero touch deployment '''<br> VoiceMailTel supports Zero touch deployment for Aastra 6863i Phones:<br> To se…') |
|||
| (2 intermediate revisions by one other user not shown) | |||
| Line 1: | Line 1: | ||
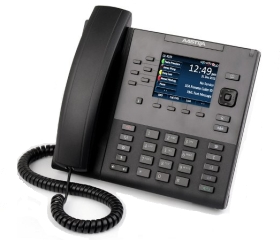
| + | [[File:Aastra6867i.jpg|300px|thumb|]] | ||
| + | |||
== How to configure your phone through Zero touch deployment == | == How to configure your phone through Zero touch deployment == | ||
''' Zero touch deployment '''<br> | ''' Zero touch deployment '''<br> | ||
| − | VoiceMailTel supports Zero touch deployment for Aastra | + | VoiceMailTel supports Zero touch deployment for Aastra 6867i Phones:<br> |
To set up Zero touch deployment please provide the '''MAC Address''' of your device to your VoiceMailTel account manager. <br> | To set up Zero touch deployment please provide the '''MAC Address''' of your device to your VoiceMailTel account manager. <br> | ||
Once the phone has been set up on your VoiceMailTel Account, simply perform a '''Reset to factory defaults''' from the Reset menu of your phone`s web interface<br> | Once the phone has been set up on your VoiceMailTel Account, simply perform a '''Reset to factory defaults''' from the Reset menu of your phone`s web interface<br> | ||
Latest revision as of 20:57, 5 June 2020
How to configure your phone through Zero touch deployment
Zero touch deployment
VoiceMailTel supports Zero touch deployment for Aastra 6867i Phones:
To set up Zero touch deployment please provide the MAC Address of your device to your VoiceMailTel account manager.

Once the phone has been set up on your VoiceMailTel Account, simply perform a Reset to factory defaults from the Reset menu of your phone`s web interface

Your phone will then connect to your account and download it`s settings
How to configure your phone through auto provisioning
1. Find your phone's IP address
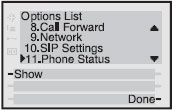
1.1 Press the Settings key to enter the Options List.

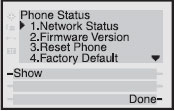
1.2 Use V (Down arrow) key to scroll down the list of options to Phone Status and press the Show softkey.


1.3 Use V (Down arrow) key to scroll to Network Status and press the Show softkey.


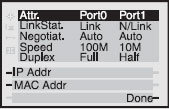
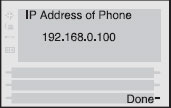
1.4 Press the IP Addr softkey.


1.5 You will now see your phone’s IP Address
2. Access phone's Web User Interface
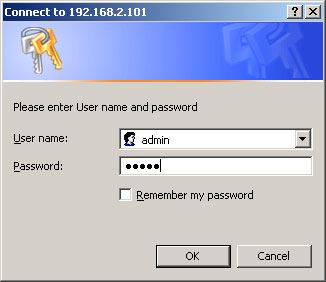
Open your favorite web browser and enter the phone’s IP address into the address field. At the prompt, enter your username (by default is "Admin") and password (by default is 22222) and click "OK"
3. Configure phone
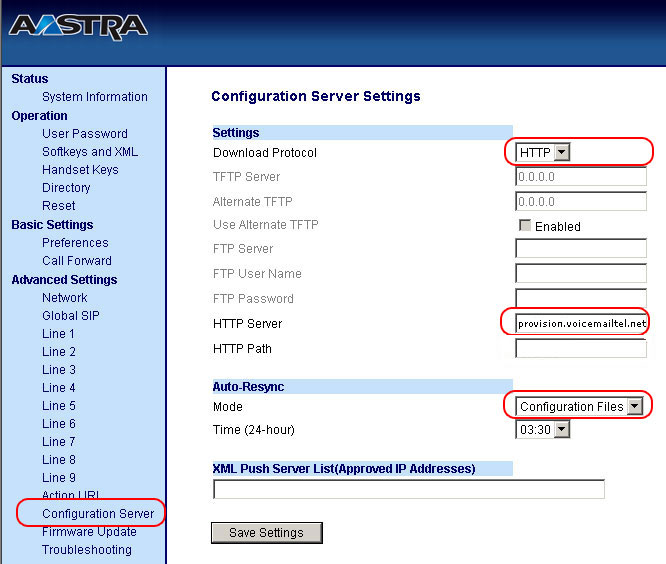
Press the Advanced Settings on the left menu and then select Configuration Settings and setup as follows:
Download Protocol: HTTP

HTTP Server: provision.voicemailtel.net

Mode: Configuration Files
4. Save settings and restart
Click "Save settings" and restart the phone.
For a detailed guide on how to perform the auto provisioning on Aastra devices, please watch the video below. {{#ev:youtube|Q_nETifg0LQ}}
